
API Keys
An API key for WaitForIt acts like a secure passcode that allows apps and websites to interact with our platform safely. Think of it like the secure token you use to connect your bank account to a budgeting app, granting access to specific data without exposing your login credentials. For example, if you’ve created a quick website on WaitForIt to gather emails for a waitlist, you can use an API key to securely connect your account to other online services. This allows you to monitor real-time signups and set up automated workflows — such as adding new subscribers to a Google Sheet, sending a welcome email, or notifying your team in Slack whenever someone joins the waitlist. The API key ensures that only authorized services can access this data, keeping everything secure while streamlining your workflow.
Generating an API Key
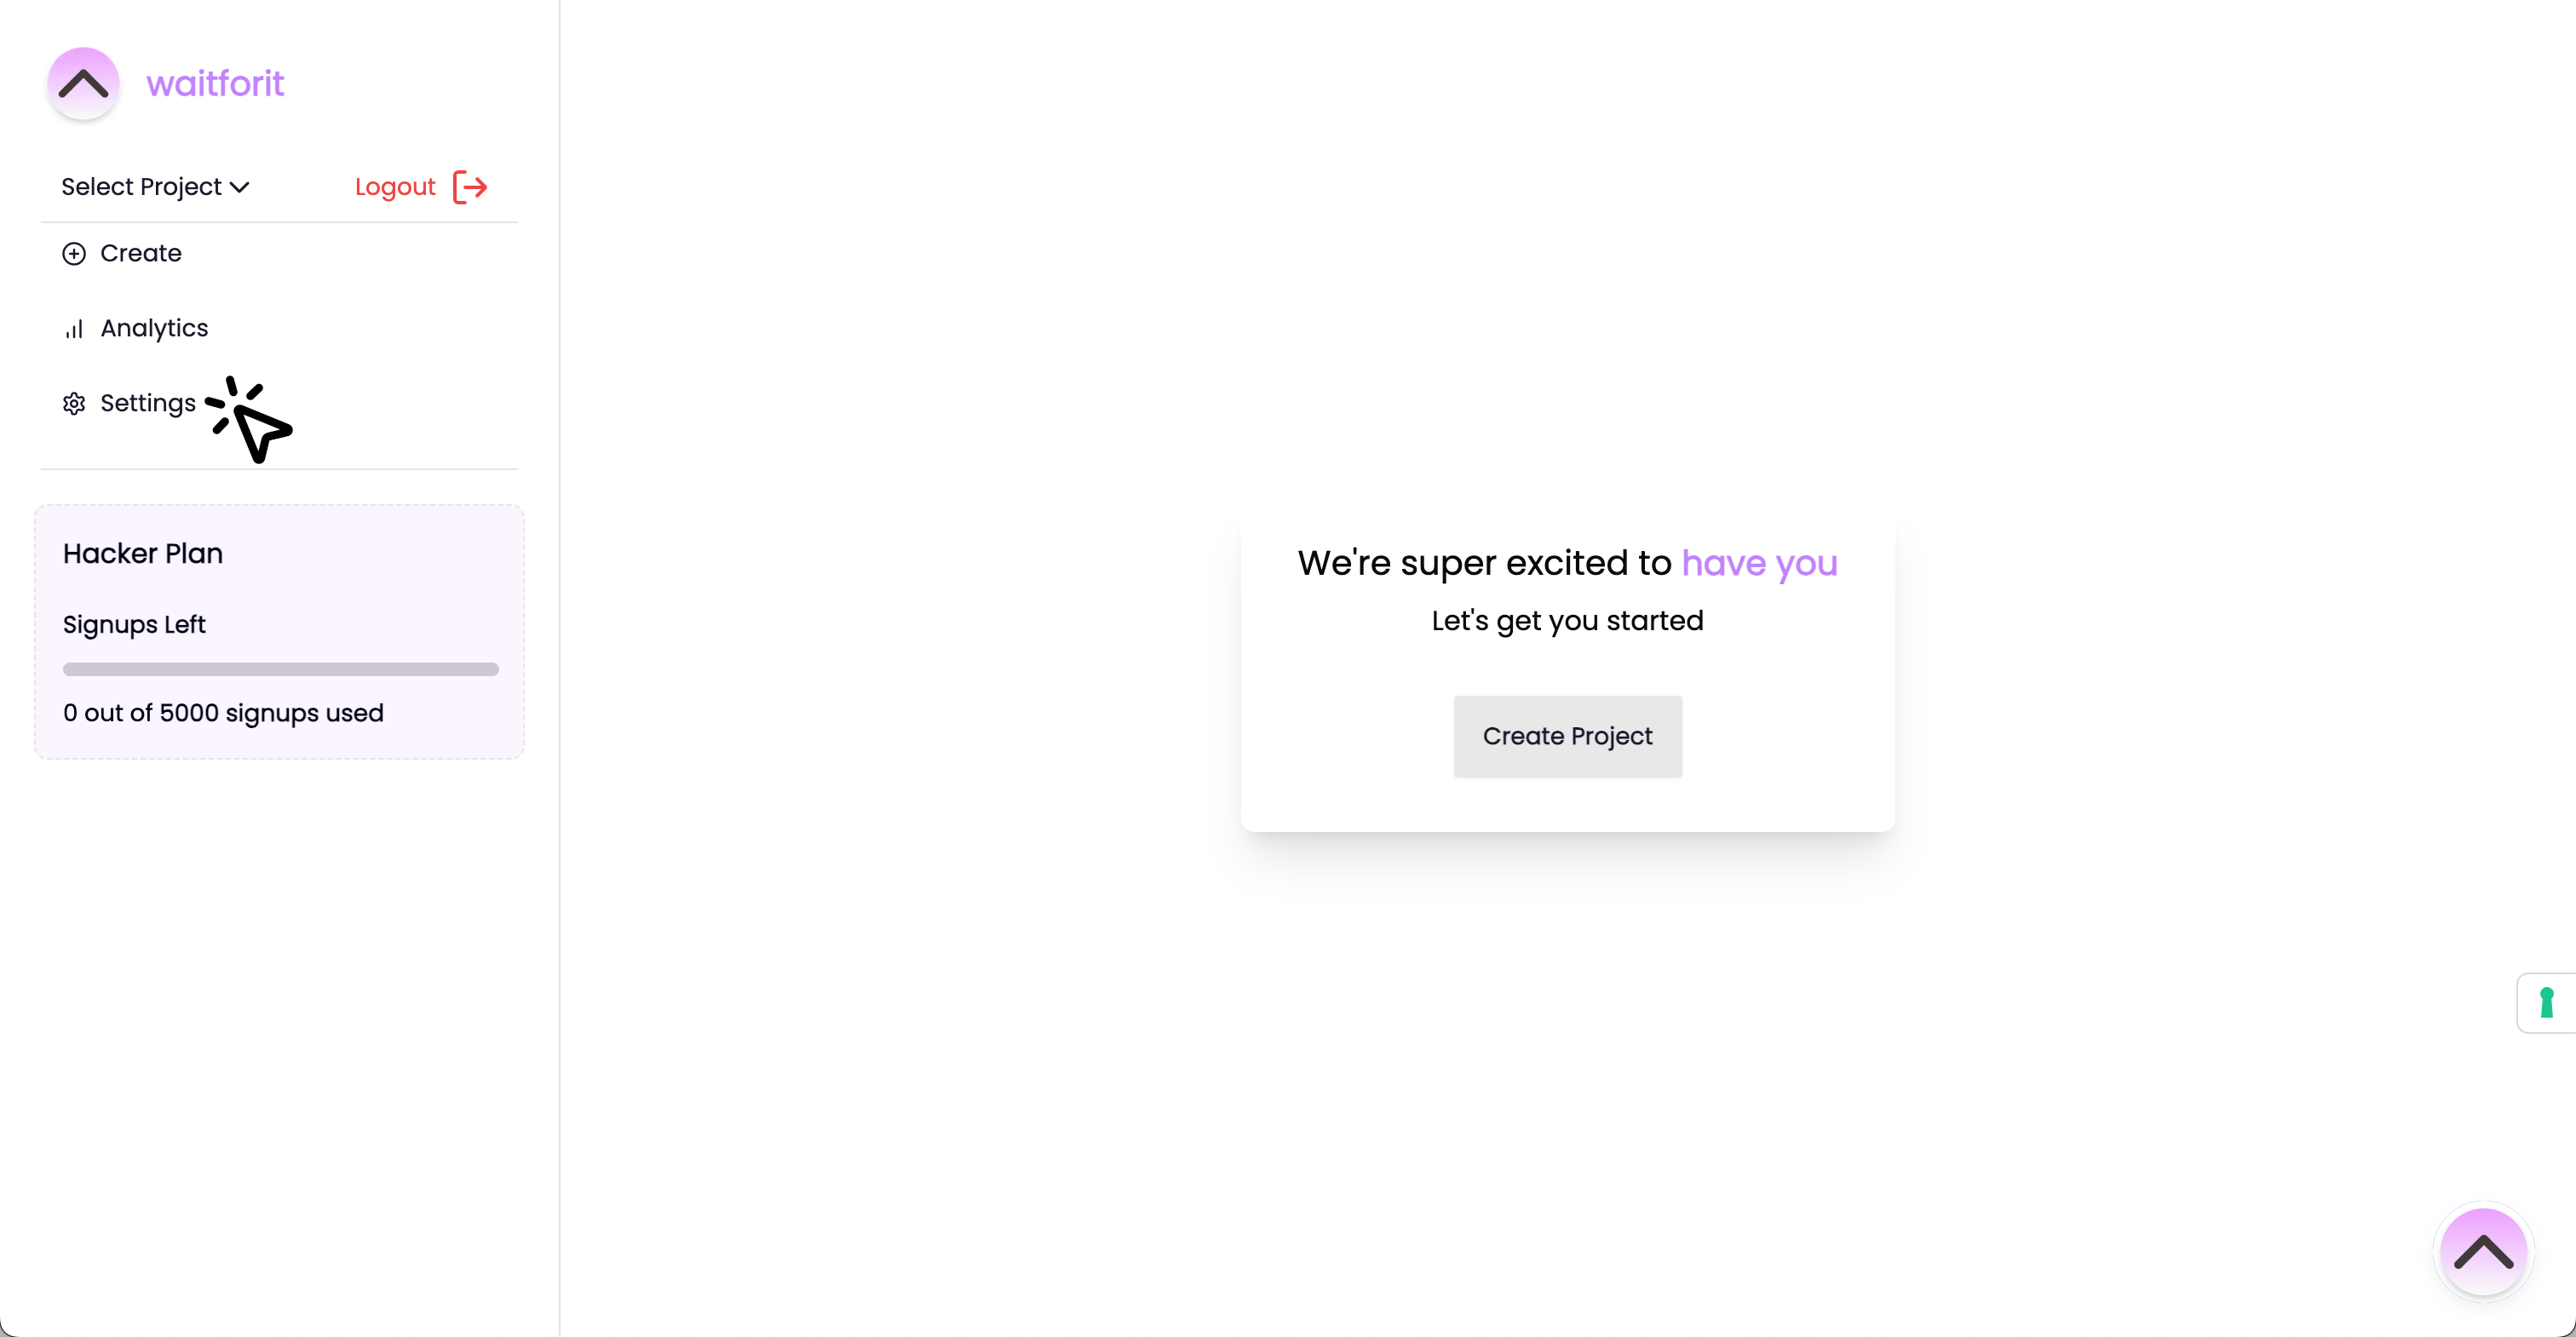
- After you login on WaitForIt, navigate to the settings page.
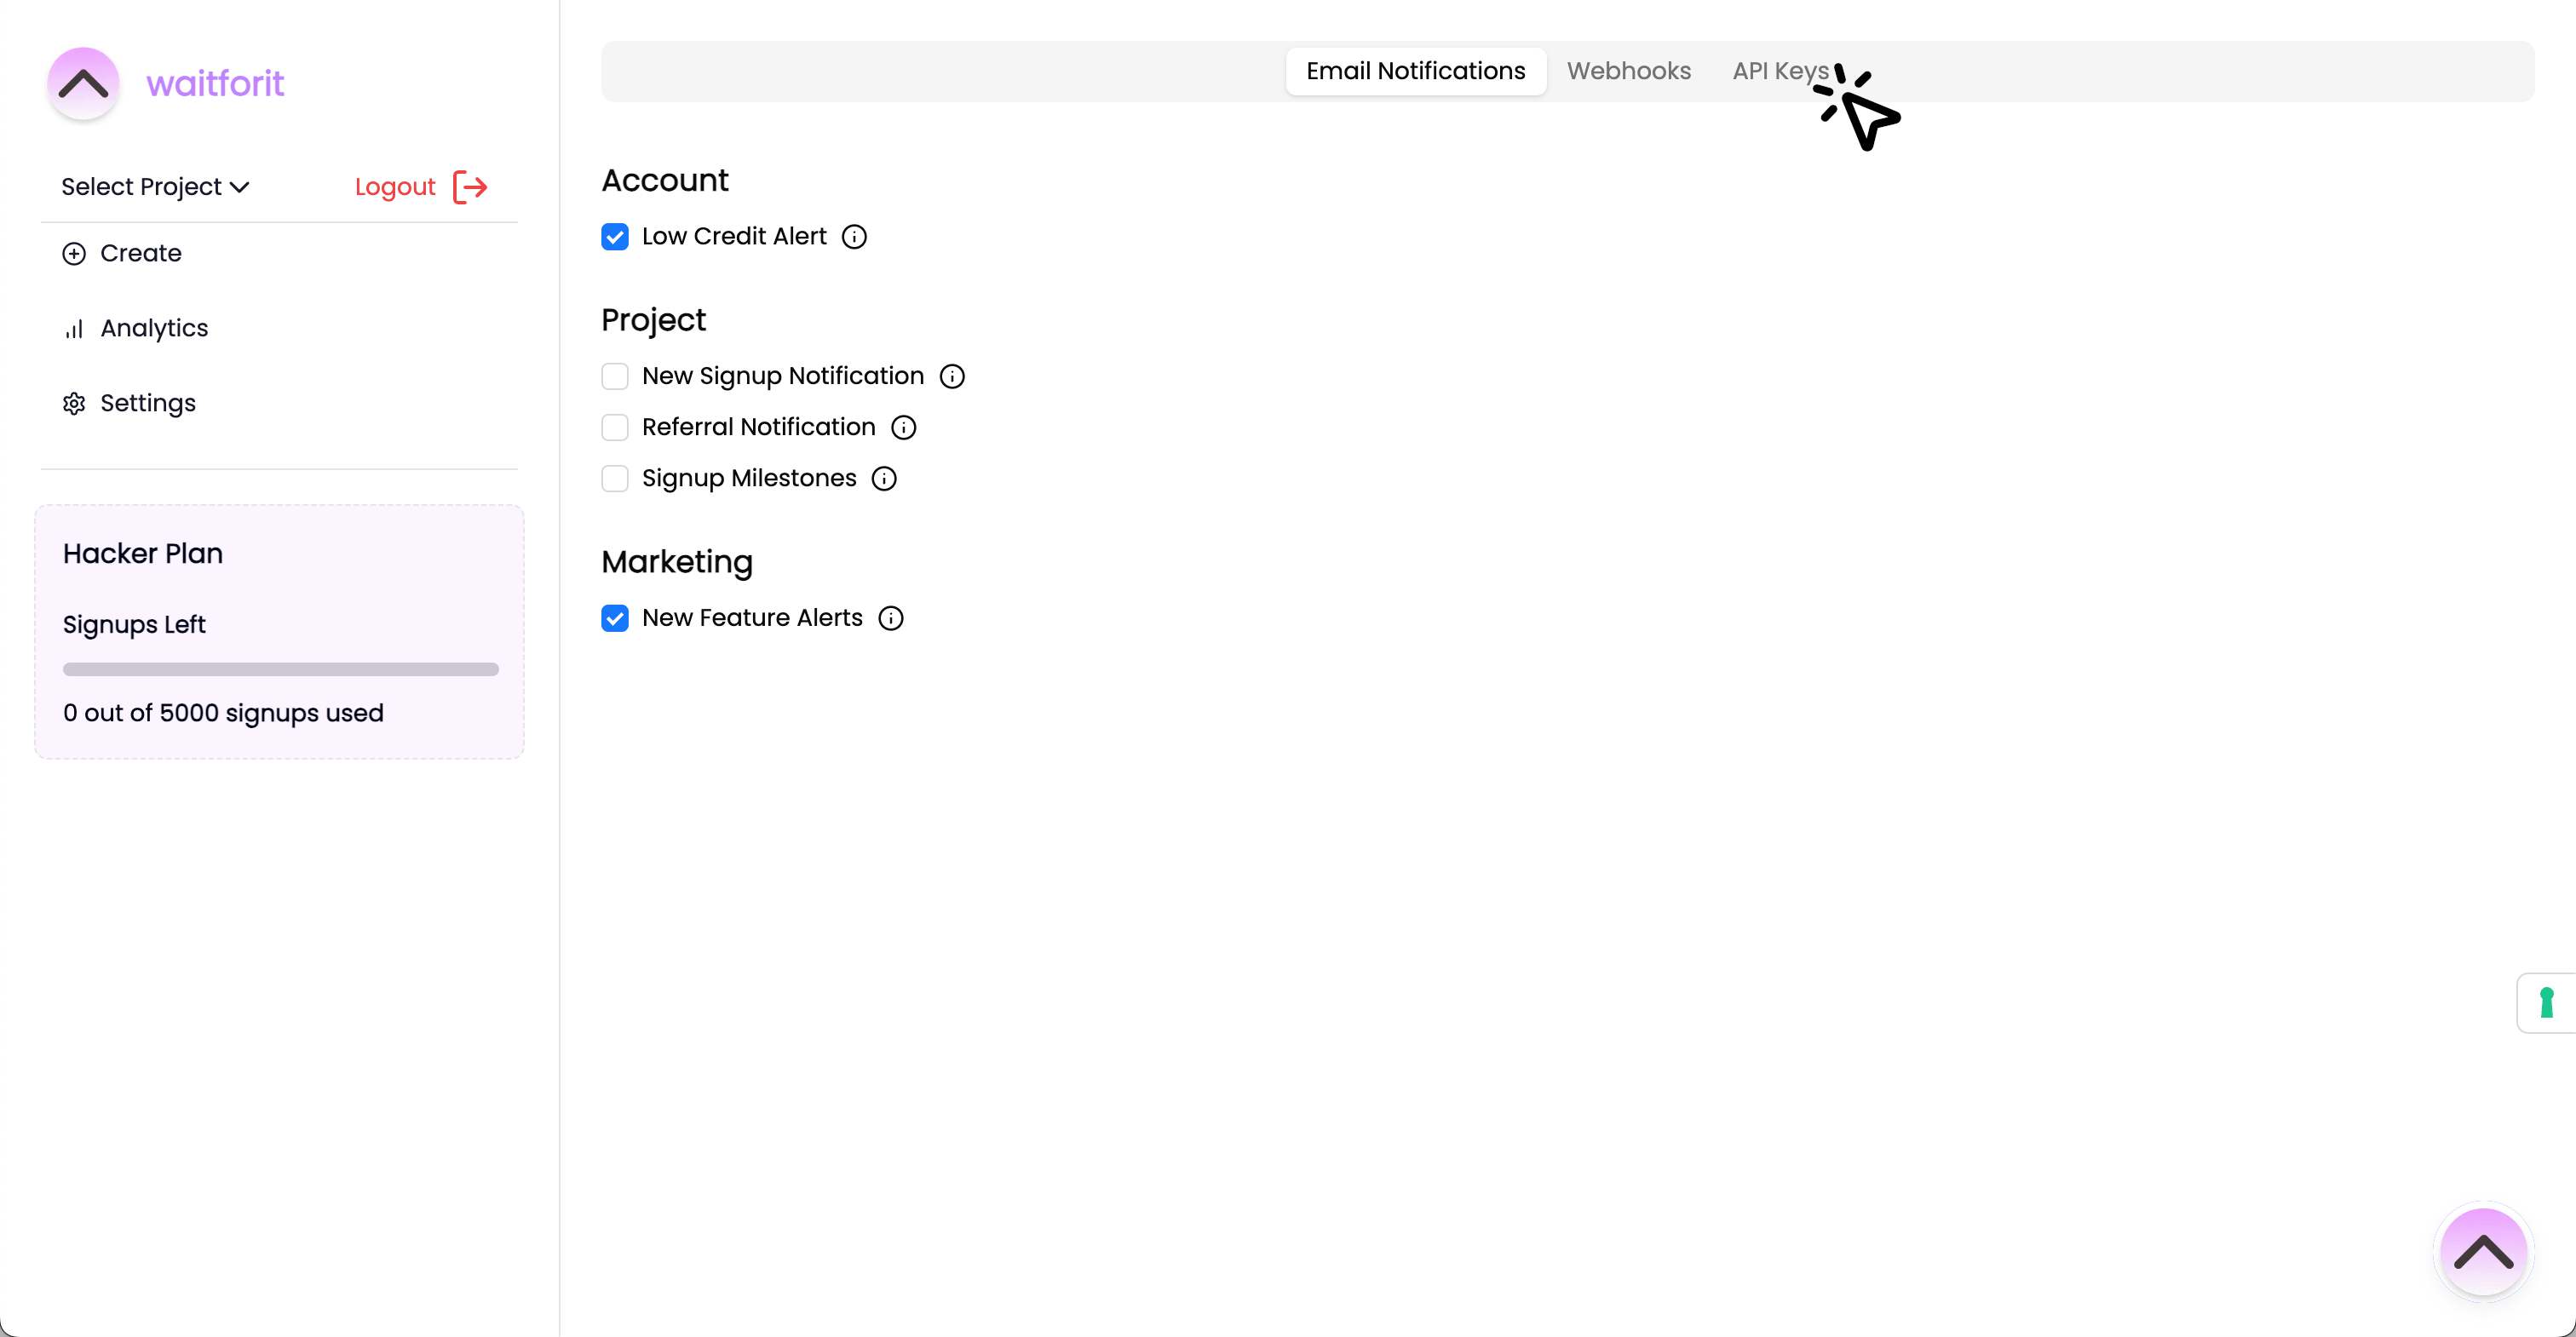
- Once you are at the settings page, click on the API Keys menu.
- At the API Keys menu, click the "Generate New Key" button.
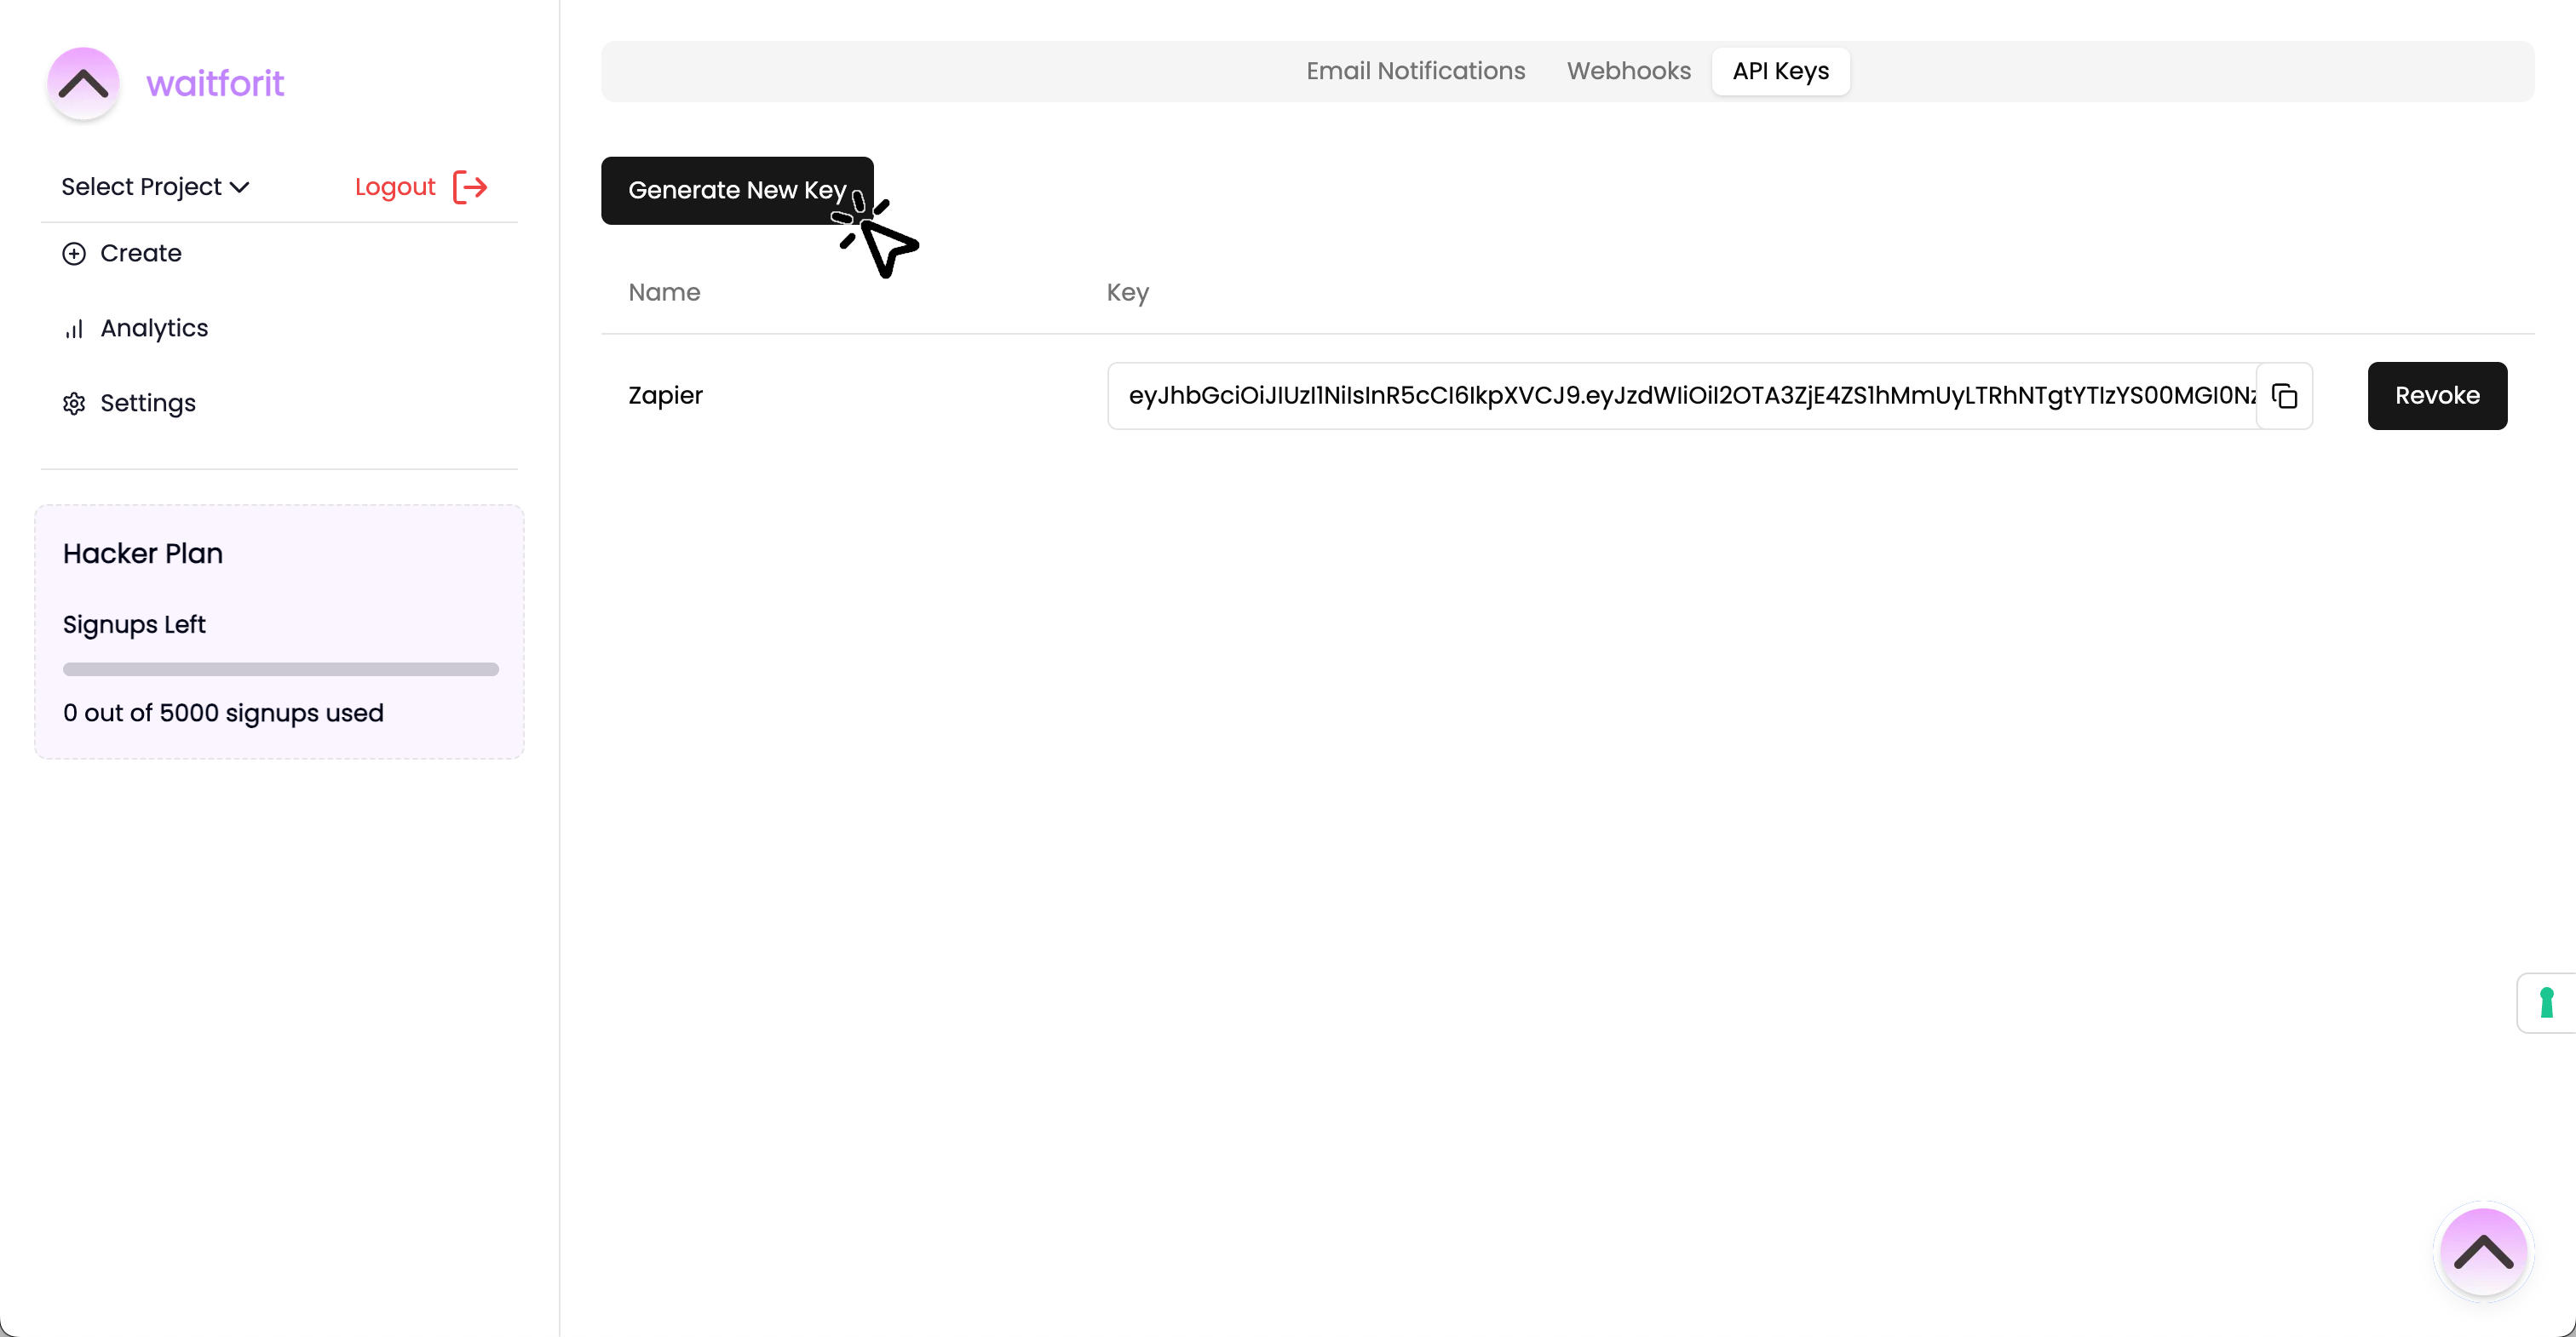
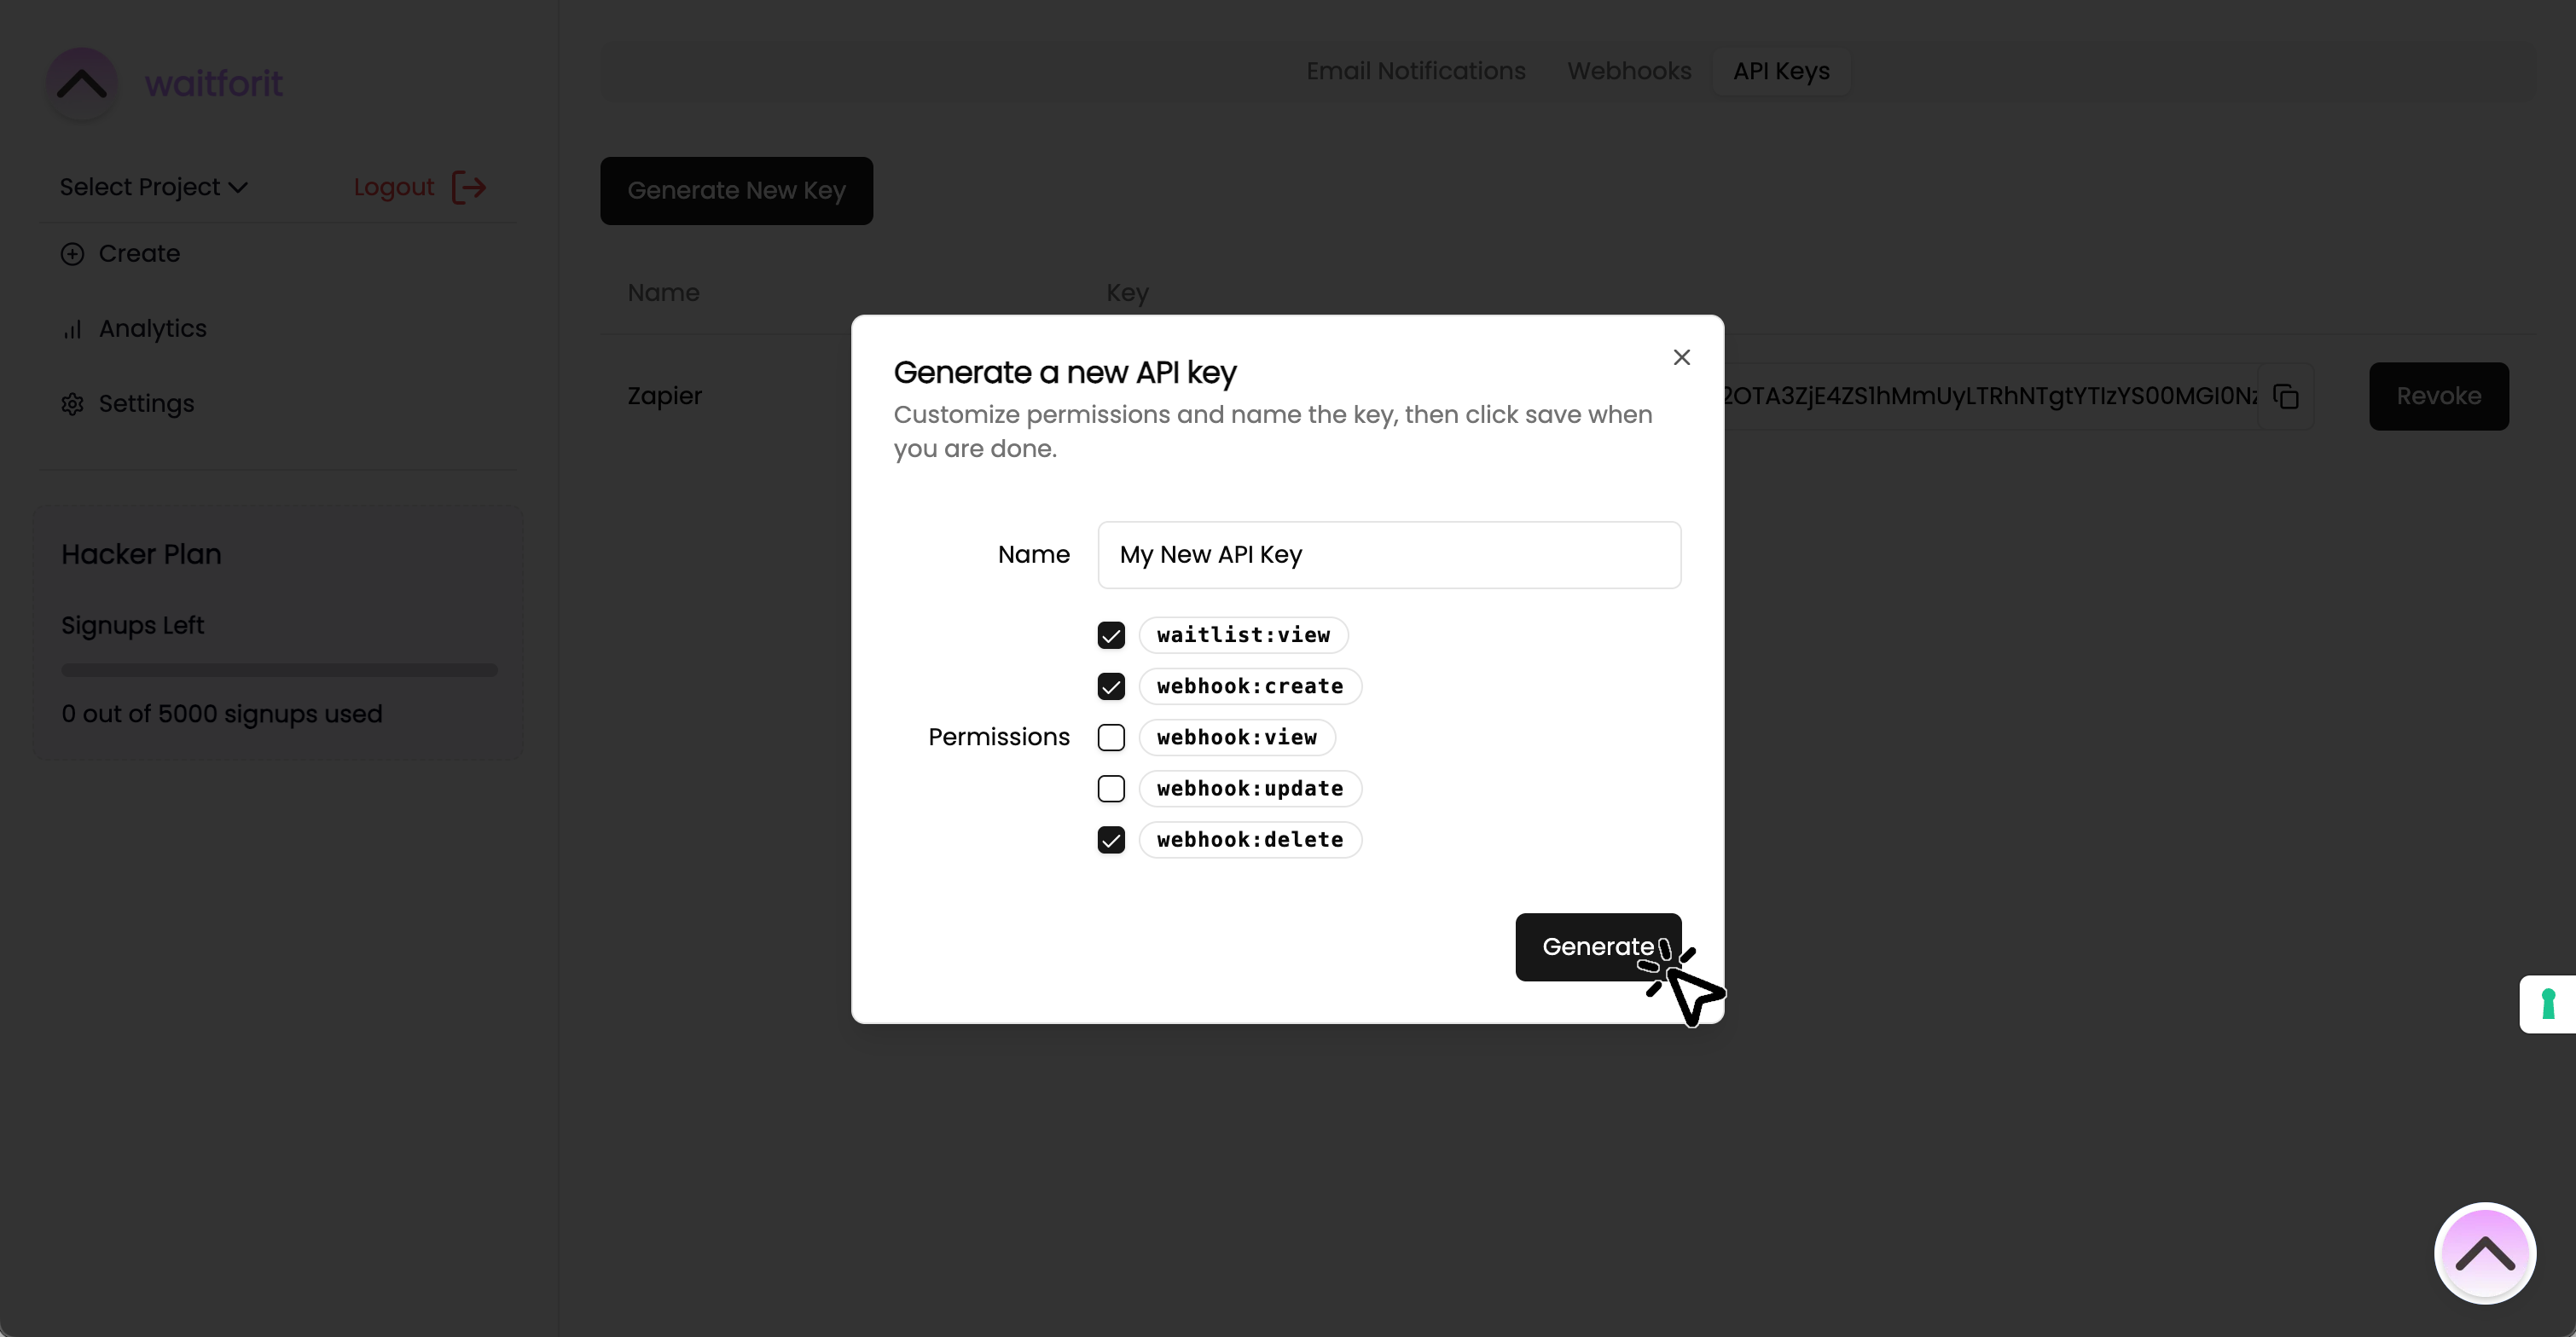
- After clicking the button, a dialog will pop up asking for details regarding the API Key.
-
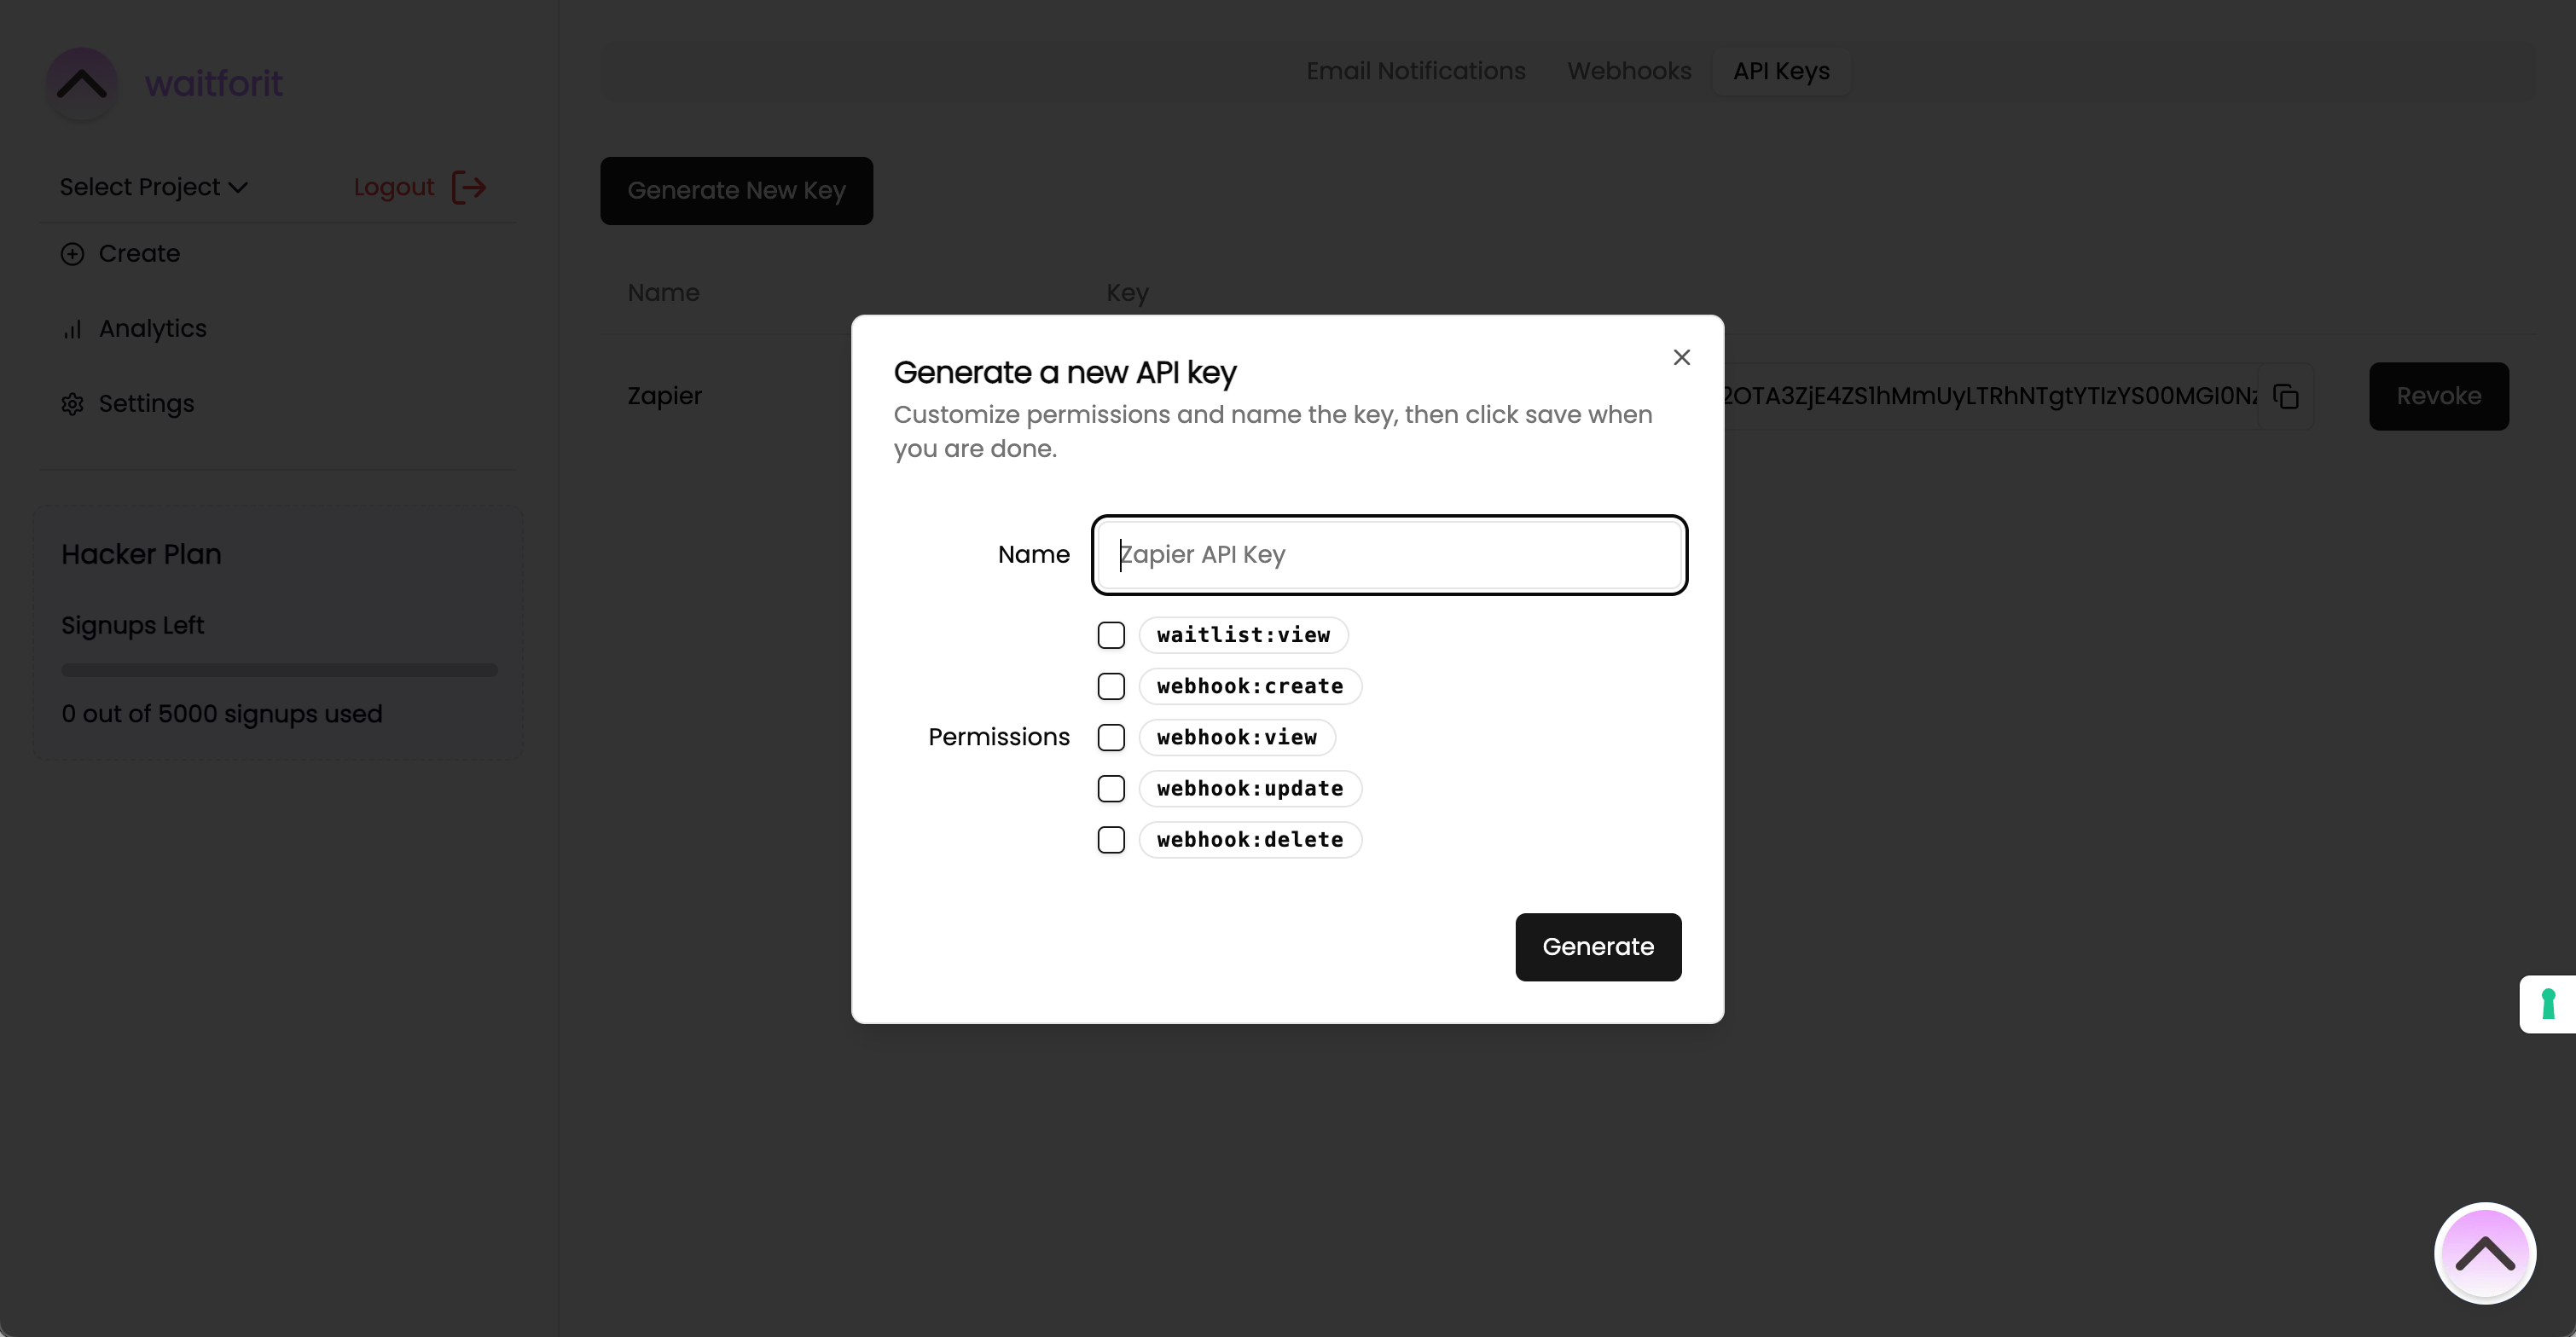
Fill in a descriptive name, assign the permissions you want to grant the API Key, and click the "Generate" button.
Note: These details will not be editable after you generate the API Key.
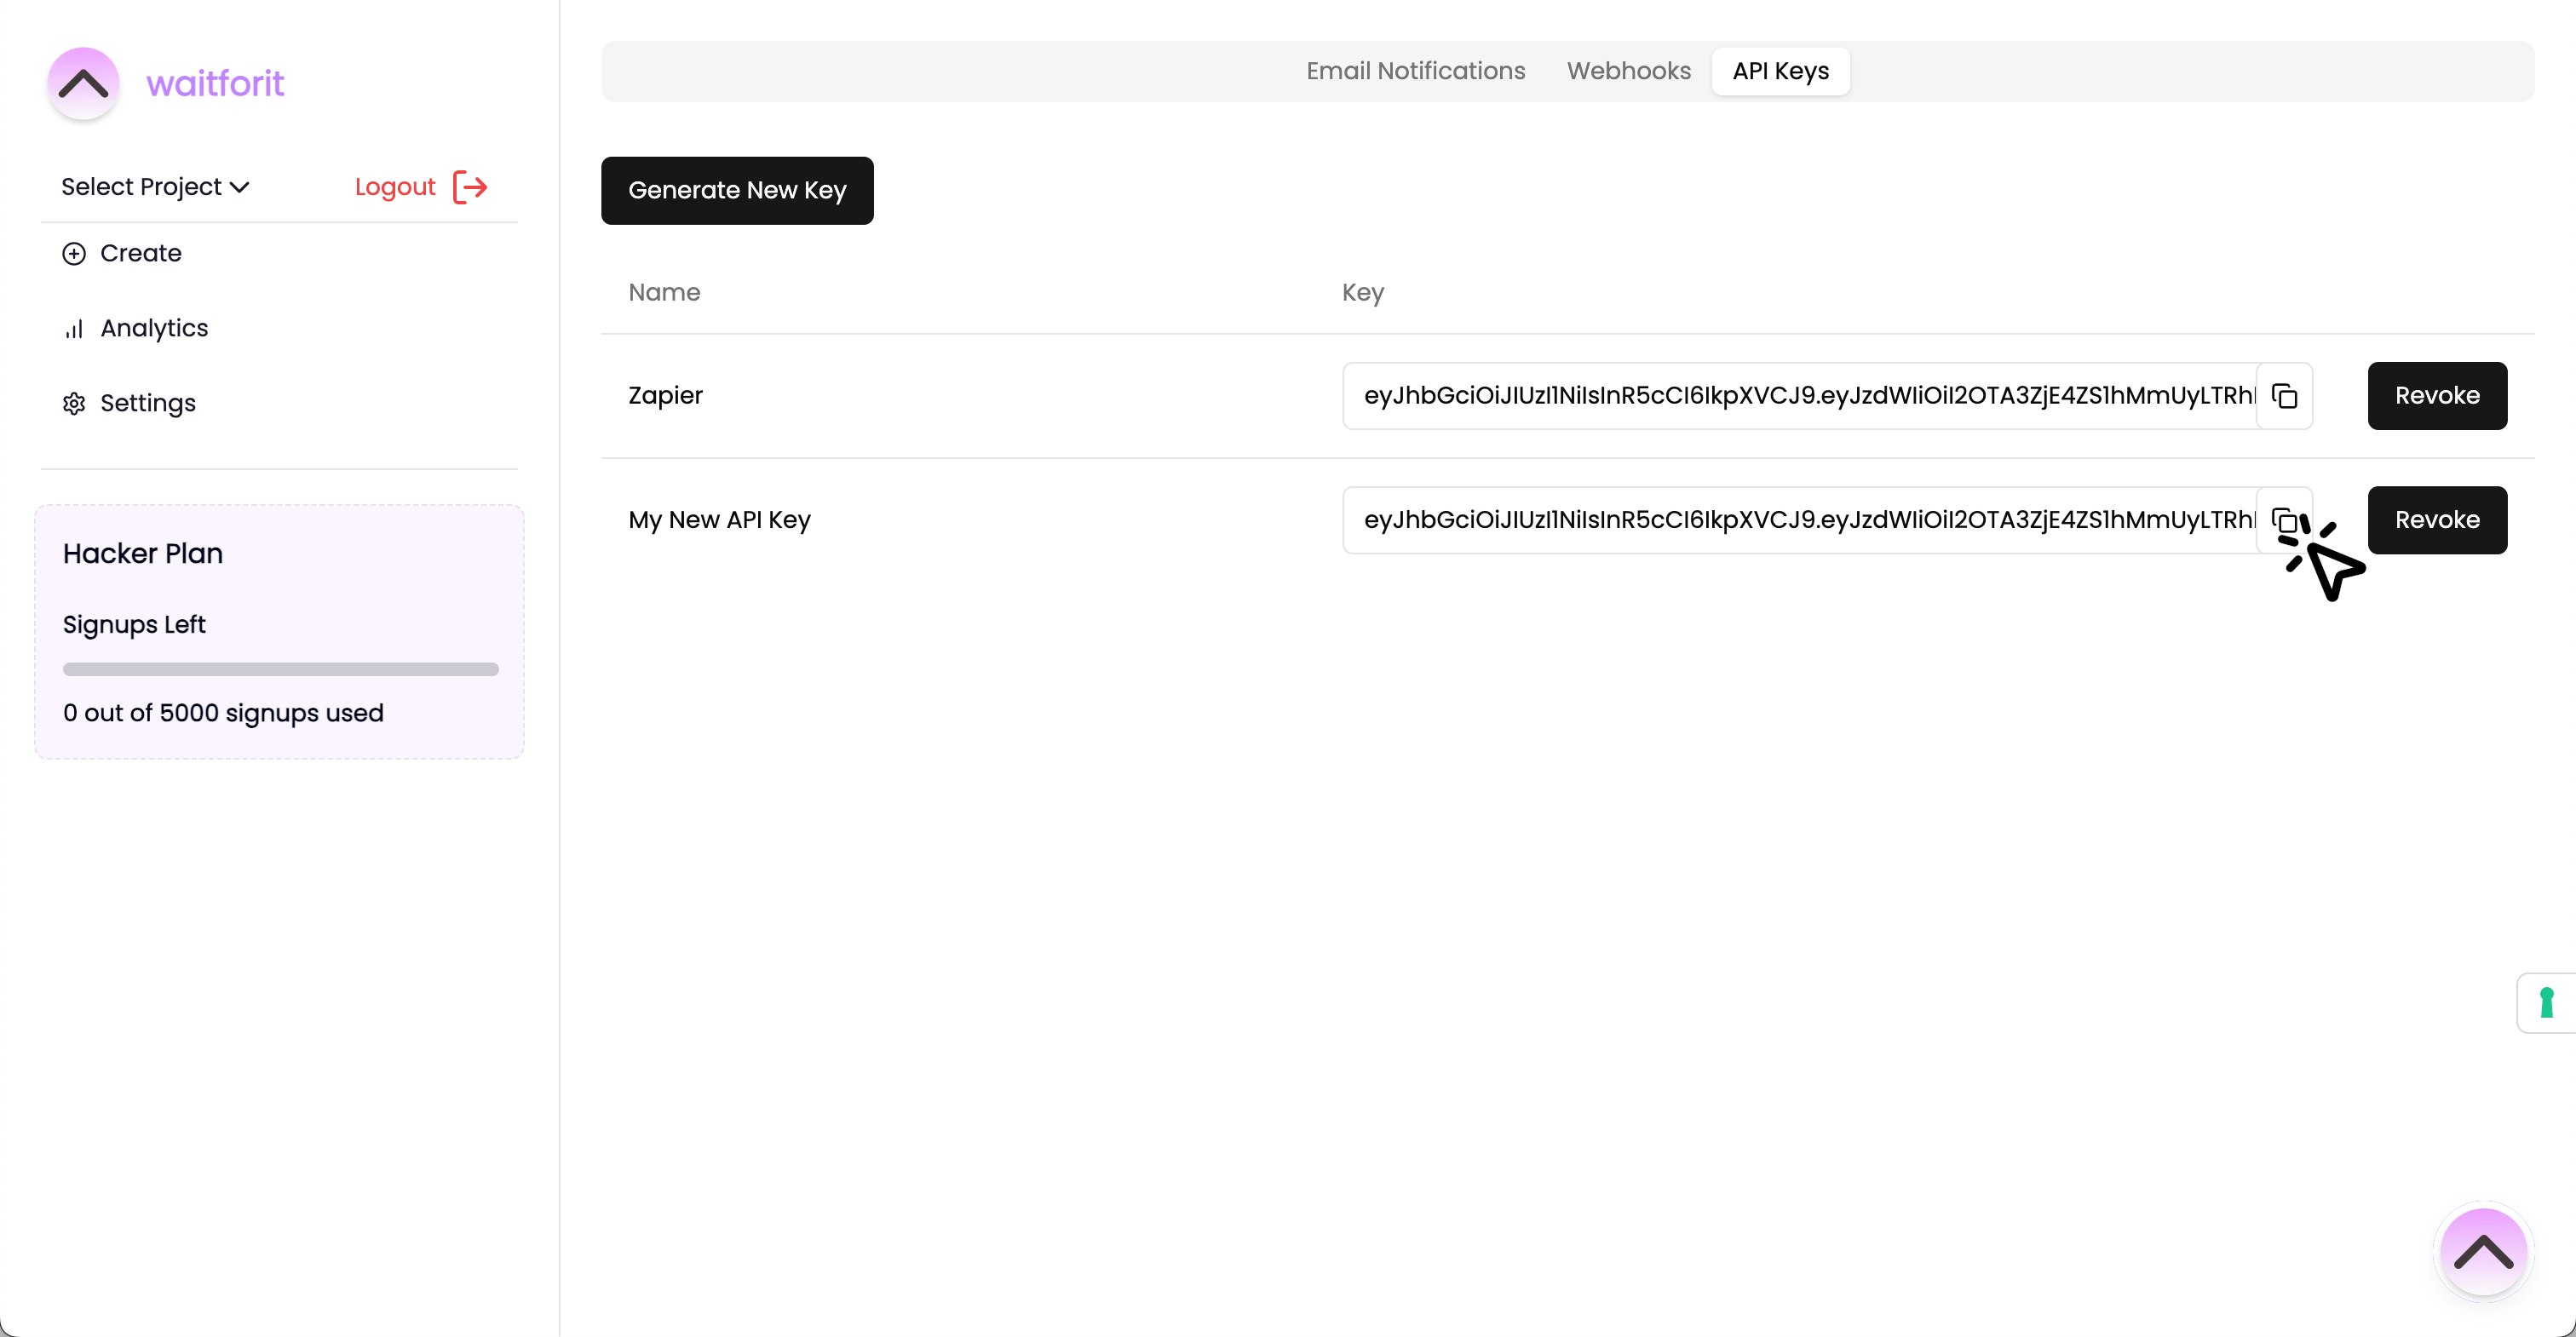
- Finally, copy the API Key that generated by clicking the copy icon.
How to use the API Key
You can use your newly generated API Key in all requests to the API (see API Reference) by supplying it to a custom Header.
X-API-KEY: YourKeyGoesHerehttp